
The AdSense Approval Checklist: 14 Points to Review Before You Hit Submit
An AdSense rejection is not a final verdict on your worth as a content creator — in most cases it is the result of specific points that could have been checked twenty-four hours before submitting. In this article I collected the full checklist I personally review before submitting any application, ordered by its real weight, using the same sequence I follow when preparing client sites for approval. You will find a practical review of each point, the reason it matters to Google, and a quick way to test it today without any paid tool.
What you will actually do after reading this article:
- Check fourteen points ordered by their real weight in the approval decision
- Separate what AdSense actually requires from noise circulating online
- Present a clean site that honestly represents your identity to the reviewer
- Know exactly what to do if the answer is a rejection, instead of giving up
Why Google Rejects Most New Sites
The AdSense review team is not looking for a perfect site — they are looking for a site that expresses a real publisher delivering real value to real visitors. Most rejections are not about the content itself but about signals around it: missing pages, confusing navigation, an anonymous identity, or content that cannot stand out from a hundred similar articles online. Understanding this logic saves you weeks of guessing, because the requirement is not a technical trick but completeness of the overall picture.
Read a rejection also as an information message, not an insult. The standard "low value content" reply practically means the reviewer could not identify what your site adds above hundreds of similar sites, and that is a depth problem, not a quantity problem. A site with ten in-depth articles built on firsthand experience performs better than a site with fifty articles rephrased from search results — I have seen this repeat in every site I prepared so far.
Practical rule: every article on your site should answer a real question your audience asks, even a simple one, and answer it better than the first three results you can name.
Start With the Official Policies, Not Second-Hand Advice
Before any technical check, spend one hour reading the official program policies from the source itself. Many tutorials circulating online repeat outdated rules or personal interpretations by people who were rejected and guessed reasons that were never the real cause. The official policies are relatively short, clearly written, and they are the exact standard your site will be measured against during review.
While reading, note any clause that resembles your situation: images taken from the web, half-finished demo pages, or download links of questionable origin. These notes become items in your own checklist, and most of them are covered practically in the points below — because today's checklist is simply the policies translated into actions.
1) Original Content Before Quantity
Original content does not mean a text nobody has written before — it means information processed through your mind, your experience, and your audience's context. An article explaining the signup steps of a service in your own words, with screenshots from your device and notes from your trial, is original even if thousands of similar articles exist. Rephrasing other people's texts with spinning tools is the weakest position of all, because Google's systems link similar copies together and classify them all as duplicated value.
Open three articles from your site today and read them with a fresh reader's mind, then ask two direct questions: does someone who knew nothing about the topic actually benefit from this text? And did I add something the first three results for this keyword do not have? If the answer is no in both cases, your site is not ready yet, and the required work is clear: deepen the weak articles before adding new ones.
2) The Four Legal Pages, Complete and Linked
The four foundational pages are: About, Contact, Privacy Policy, and Terms of Use — with an affiliate disclosure page added for recommendation sites. These pages are not administrative decoration but part of the reviewer's trust in your site, because they tell them who writes this content, how to reach them, and how visitor data is handled. The Privacy Policy specifically must explicitly mention Google's use of cookies in case of approval, because that is a literal program requirement.
| Page | What it must actually contain | Common mistake reviewers catch |
|---|---|---|
| About | Your real name, specialty, and story with the topic | Generic text with no name, photo, or verifiable bio |
| Contact | A working email plus a second clear channel | A dead form or a fake address |
| Privacy Policy | Collected data, cookies, Google, visitor rights | A copy from another site, never edited |
| Terms of Use | Usage rules and liability limits | An empty page or a title without content |
Link these pages in the site footer so any visitor and any crawler reaches them from every page, and make sure each link opens a real, complete page. Legal files copied from other sites with foreign names are easily detected and weaken your file from the first minute — write them yourself or deeply adapt them to your own site.
3) A Navigation Structure Humans and Crawlers Both Understand
Open your site on your phone and honestly ask two questions: does a new visitor understand the site's topic within ten seconds of landing? And can they reach any article in three clicks at most? A short main menu, logical non-overlapping categories, and an archive page listing every article — that is the structure reviewers call good user experience, and the same structure helps search engines discover and later rank your pages.
Add contextual internal links inside article texts as well, because they turn your site from a pile of separate pages into a connected network where sessions last. Every article should point to two or three articles that complete its topic, naturally inside the text, not as a floating link list at the bottom. I explained building this structure step by step in the navigation article of the Road to AdSense series — apply it before any submission.
4) Domain: Top-Level Is Stronger, But Not a Condition
An independent top-level domain gives your site a stronger position than free subdomains, because it signals higher seriousness and makes brand building easier over time. But the practical truth is that subdomain sites do get approved when their content is excellent and clean, so do not postpone applying for years waiting for a perfect domain or a perfect domain age. My standing decision: fix the foundations first, then apply from whatever domain you are actually working on.
If you are about to buy a new domain, pick a short, pronounceable name without double hyphens or numbers, preferably hinting at your topic rather than the word "money" alone. Buy it for multiple years if you can, enable transfer protection, and connect it immediately to real content. An empty parked domain signals a site built to farm ads rather than serve readers — the weakest possible first impression.
5) Indexing Before Submitting, Not After
Open Search Console and confirm your core pages are actually indexed using the URL inspection tool — a site Google has not indexed yet puts the reviewer in a strange position: content requesting an ads program before proving it exists in the search engine itself. Submit your sitemap following the first Search Console steps if you have not yet, and wait at least a week of healthy indexing before pressing the submit button in AdSense.
Indexing is also an honest mirror of your site's technical health. If the coverage report shows exclusions caused by wrong noindex directives or chained redirects, fix them first — those same causes will weaken your rankings later anyway. A site entering review cleanly indexed sends a double signal: a publisher who cares about details, and a site technically ready to display ads without problems.
6) Speed and Mobile Experience: Rational, Not Obsessive
You do not need a hundred points on PageSpeed to get into AdSense — sites with medium scores but strong content have been approved, and that is practical experience, not theory. The real requirement is a site that opens within seconds on an average phone with a normal data connection, readable text without zooming, buttons spaced enough to tap, and no pop-ups covering the screen or other networks' ads crowding the content. Test your site yourself from your phone on mobile data, not just Wi-Fi, note everything that annoys you as a visitor, and fix it.
Focus on the three core metrics I explained in the Core Web Vitals article: largest element speed, interaction response, and visual stability while loading. Improving these three usually means compressing images, deferring non-essential scripts, and loading web fonts smartly — simple steps on a clean static site like ours, with a real impact on the first impression.
7) No Content With Clear Policy Problems
Review your site for sensitive categories that require extra care: medical, legal, and financial content, graphic material, misleading information, and fully prohibited topics. Small sites suffer more here, because one violating page in a ten-page site is a large share of the whole, while on a large site it is a clear exception. If your niche is sensitive by nature, add a clear disclaimer on those pages and cite trusted sources explicitly.
Watch also for grey content that is not explicitly banned but weakens trust: download pages with chained redirects, shortened links behind gated steps, or income claims without basis. These patterns are common in quick-profit sites, and their presence in yours stamps it with the same classification even if your intention is clean. Remove any page matching these patterns before submitting — your reputation is built on your weakest page, not your strongest.
8) A Real Publisher Identity With Working Channels
An About page that works is one with a real name, a short story explaining why this person writes about this exact topic, and a real photo or logo. Anonymous blogs get rejected more often — not because reviewers are unfair, but because the policies themselves require transparency about the publisher's identity, and readers deserve to know whose advice they take. Link your actual social accounts if you have them, and publish an email you genuinely open, because some reviews test contact channels.
If you write under a pen name, the issue is not the name but the absence of any verifiable trace. Add a short bio at the end of every article, an authored about page, and links back to your main site if you have one. Your goal is a consistent picture: one known person writing in a clear specialty for a verifiable period — enough to pass the identity item with distinction.
9) A Clean Site at Review Time: No Fake Ads
Do not place any ad code from other networks before approval, and do not imitate Google ad shapes with colored empty blocks to make the site look ad-ready. This is easily read, and it tells the reviewer the site was built for ads before being built for readers. Keep your pages completely clean at submission: content, images, navigation, and an ordered footer — which is, by the way, also the best experience for your real visitors, not just for the review.
Also remove promotional pop-ups, annoying notification bars, and any element that asks the visitor for an action before receiving value. A review simulates an ordinary human visit, and anything that annoys a real visitor annoys the reviewer first. Our principle in every site I prepare is simple: the page opens directly on content, value appears before any request, and ads — when they come — land in positions that never crowd the reading.
10) Real Images, Named and Described
Images on your site must be yours or licensed to you from trusted sources — no images pulled from search results. Name image files descriptively instead of default camera numbers, and write alternative text describing each image for screen-reader users and for the crawler that cannot see it. This small work helps image search indexing and adds an accessibility dimension that lifts your site's overall quality.
Use screenshots from your actual experience whenever possible — the strongest proof you tested what you write about, and the kind of image competitors cannot copy. Label them with clear text explaining what they show, and save them at a reasonable compressed size because heavy images delay page opening. One clear relevant screenshot beats five generic AI-decorated images with no meaning.
11) Sitemap and robots.txt in Their Places
Confirm a sitemap.xml exists at your site root covering all important pages, that it is submitted in Search Console, and that robots.txt does not accidentally block important sections. These two small files drive all crawling on your site, and misconfiguring them disables indexing entirely even with excellent content. The healthy shape of a blog's robots file is very simple:
User-agent: *
Allow: /

Sitemap: https://example.com/sitemap.xml
Check also that your sitemap updates automatically with every new article — a manual map goes stale quickly and fools you into thinking a page was submitted when it was not. Our static sites regenerate the map on every build automatically; on other platforms, verify the platform's auto-update feature. This item takes two minutes to check, but its effect extends across the entire indexing and ranking path after approval.
12) Check Every Link Before Submission Day
A broken link, a missing image, or a button that does nothing — small details that accumulate in the reviewer's mind as a message of neglect. Go through your site page by page on submission day, click every link in the menu, footer, and articles, and test forms by actually sending a test message. Half an hour of manual checking reveals what tools do not, because tools check markup while you check experience.
Look specifically for three common patterns: internal links pointing to deleted or renamed articles, external domains that changed or expired, and image links written with a typo in the path. Fix what you find immediately, then keep this manual routine as a fixed step before every major submission — part of this article's checklist itself.
13) Submit Your Strongest Site, From One Account
If you own more than one site, submit the strongest one first — richest in content and most complete in pages — because the first approval is the hardest and the most important, and after it adding the following sites on the same account becomes much easier. Repeated rejections from one account practically weaken your position with every attempt, so do not scatter your energy across three half-ready sites: finish one to approval, then transfer the ready lessons to the rest at a much faster pace.
And remember the AdSense account is personal and a responsibility: do not share it, do not borrow anyone's account, and do not open a second account after a rejection before truly fixing the causes. Google connects data between accounts and domains in ways we do not see, and any bypass attempt becomes a record against you. The honest path may be one day slower, but it is the only one that builds a clean, lasting file.
14) After Submitting: Do Not Touch Your Site During Review
Review usually takes days and may reach two weeks in some cases — during it, delete no articles, change no template, and alter no link structure. Big changes during review confuse the evaluation and may restart the cycle, because the reviewer inspects a site and is surprised days later by a different one. Keep the site stable, and invest the waiting time in writing two new articles to publish after the decision, whichever way it goes.
Prepare yourself for two outcomes: if approved, you have a first-thirty-days plan; if rejected, you have a critical re-reading of the site by this article's own standards, then improvement, then resubmission. What separates successful publishers here is not luck but an organized response — exactly what the Road to AdSense series explains step by step to its end.
If the Answer Is a Rejection: The Right Response Plan
Read the rejection message fully and identify the clause it mentions — the standard messages are few and known: low value content, a policy problem, or a domain ownership issue. Each clause leads to a completely different treatment path, and the biggest mistake is resubmitting within a week without any real change, which doubles the negative record while solving nothing. Give your site two to three weeks of real work before trying again.
The practical treatment path starts with adding ten to fifteen in-depth articles on your niche's most important topics, fixing everything you noticed against this checklist, then asking friends for an honest trial read. Also read the review journey after submitting to understand what happens inside AdSense to your request step by step, and how the decision is issued in both cases.
Questions Publishers Ask While Preparing
How many articles do I need before applying?
There is no official number, but practical experience points to ten to twenty in-depth articles as the range where content reads as a real case. The count matters less than the depth: one fifteen-hundred-word article with firsthand experience beats five hundred-word copied ones. I prefer the site to have enough that a visitor keeps moving between three topics without leaving — usually fifteen articles or more.
How long does the review take?
Most replies arrive within a few days, some stretch to two weeks, and both are completely normal with no meaning about the result. Do not send a second application and do not change anything while waiting — review runs on the version the reviewer saw at submission. If waiting passes three weeks, check your mail between spam and promotions, and if nothing arrived, contact support from inside your account.
Does AdSense accept Arabic websites?
Yes, the program officially supports the Arabic language, and Arabic sites are approved every day — but competition on quality is now higher than in the early years. What matters is not the site's language but content originality, page completeness, and a clean experience. Write in Arabic for a real Arabic audience with real experience, and you will find language is not a barrier but an advantage in niches where deep Arabic content is still scarce.
Is there a minimum traffic requirement?
There is no official minimum traffic for AdSense approval, and new sites with little traffic are approved when their content is genuinely original. Expect early earnings to be modest, though — ads need volume to become meaningful numbers. Accept this reality early and build on value and search rankings; that is the path where earnings grow with time instead of depending on a passing traffic wave.
Conclusion: One Checklist Re-reads Your Whole Site
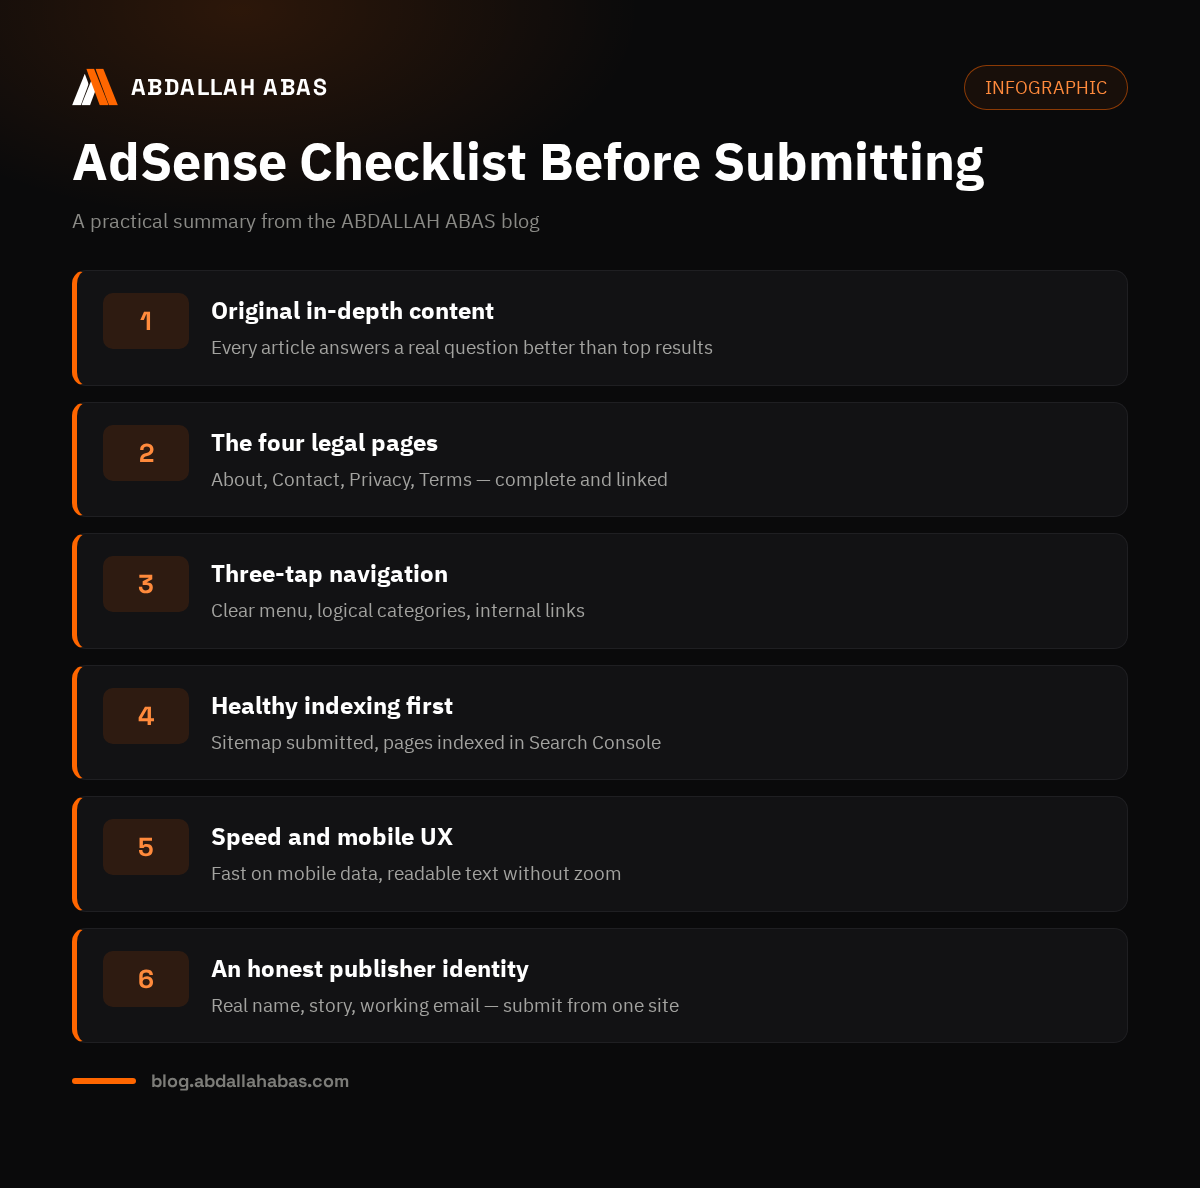
The fourteen points are not organizational slogans but the essence of what a reviewer actually checks: original content, complete legal pages, clear navigation, healthy indexing, an acceptable mobile experience, and an honest publisher identity. Review them in order, fix what you find, then submit calmly. And if you want an expert hand to review your site against this same standard, that is exactly what my AdSense preparation service does — this checklist is the first thing I open there.
Comments